Enhancing Gaming Performance: Are you a gamer who enjoys playing popular games titles like Fortnite and Valorant, but struggles with high latency and FPS drops due to a less powerful PC? If you need to boost your in-game FPS for a smoother gaming experience, you’ve come to the right place.
Timer Resolution is designed to improve the gaming performance of your Windows PC. Let’s explore how to download it and how it works!
What is Timer Resolution?
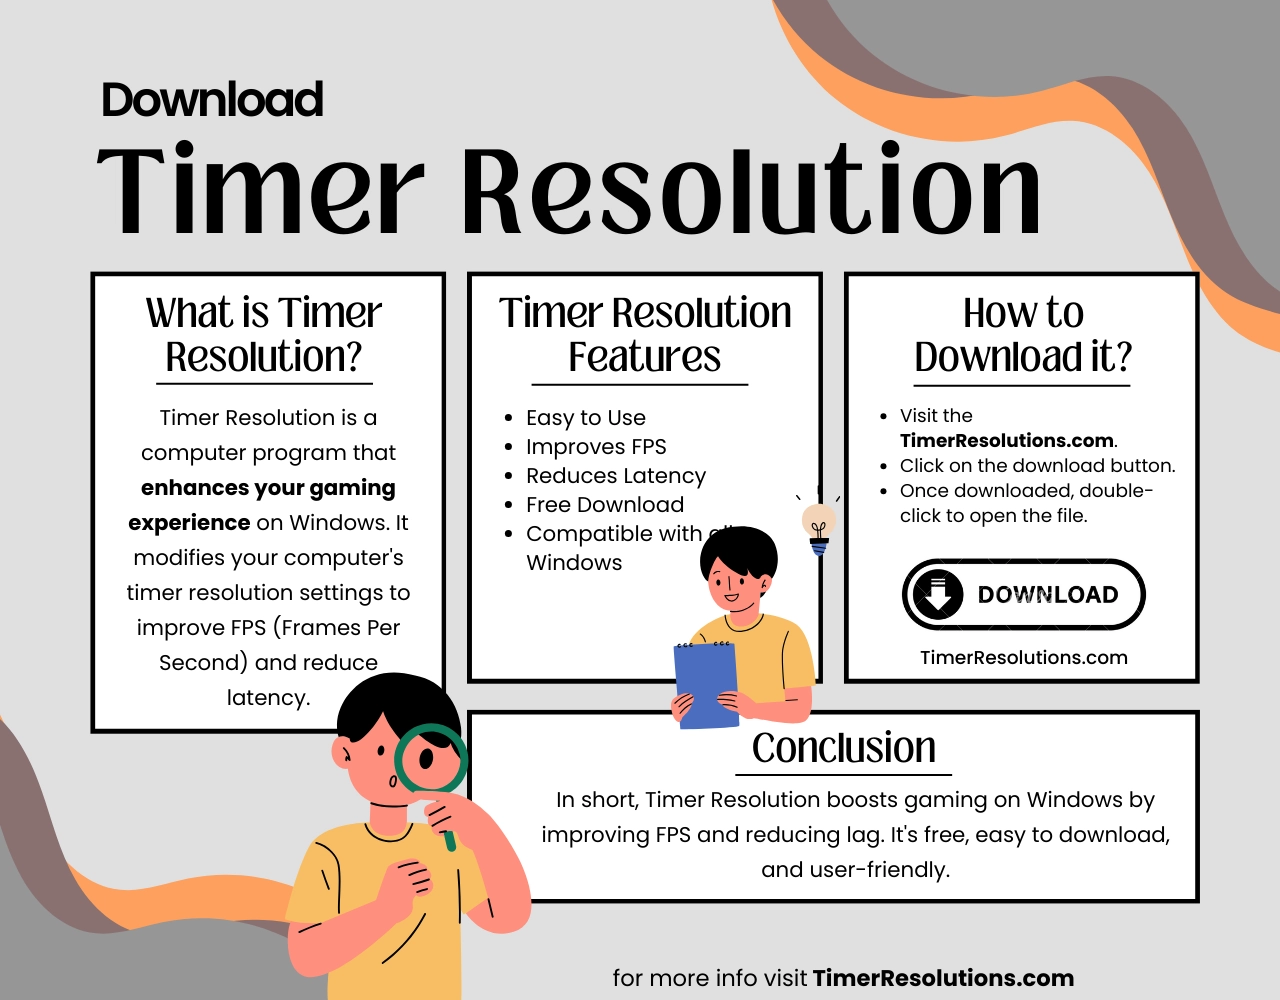
Timer Resolution is a software tool designed to optimize your computer’s performance for gaming. It functions by adjusting the resolution of your Windows system timer. This adjustment can lead to higher frames per second (FPS) and reduced delays during gameplay.
For example, games may sometimes experience lag if the computer’s GPU fails to render some frames. A common cause of this issue is the default setting of the Windows timer, which updates every 15.625 milliseconds. By using this program, you can change this update interval to a lower value, which results in reduced lag and smoother gameplay.
Benefits of Timer Resolution
Timer Resolution offers several advantages for enhancing your gaming experience by changing your Windows timer settings:
Reduces Latency
By minimizing game lag, ensures your in-game actions are more responsive. This is especially useful in competitive gaming, where quick reaction times are essential.
User-Friendly
The software is designed to be easy to use. It doesn’t require any technical expertise and is accessible to all gamers.
Free to Download
It is available for free, providing an economical way to improve your gaming performance without the need to invest in new hardware.
Compatible with all Games
The software works effectively with a wide range of game genres, from action-packed shooters to strategy games.
Customizable Settings
You have the flexibility to adjust the software’s settings to suit your specific gaming needs, allowing for performance enhancements.
How to Download Timer Resolution on PC
To enhance your gaming performance by changing the Windows timer resolution, follow these steps to download and set up the Timer Resolution:
- Navigate to TimerResolutions.com in your web browser.
- Look for the Timer Resolution app on the website and click the “Download” button.
- After downloading, open File Explorer on your computer and locate the downloaded app file.
- The file you downloaded will likely be in a compressed format. Right-click on it and choose “Extract All” or a similar option to unzip it.
- Find the extracted .exe file, then double-click on it to open.

By following these steps, you should be able to download and set up this software on your Windows computer to improve your gaming experience.
Timer Resolution Download

| Name | Timer Resolution |
| Current Version | V1.2 |
| Developer | Lucas Hale |
| Requirement | Windows XP / Vista / Windows 7 / Windows 8 / Windows 10 |
| Price | Free |
| Updated | 1 Day Ago |
0% Completed
Note: A newer version of this program, V2.0, is now available. You can download it from the developer, Lucas Hale’s, website.

How to Use Timer Resolution on Windows
Using Timer Resolution on Windows is simple and easy. After downloading the app, follow these steps to use it:
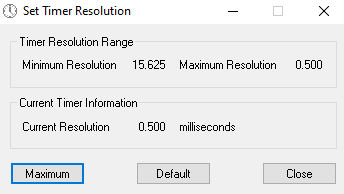
- Locate the “timerresolution.exe” file in your downloads and double-click it to open.
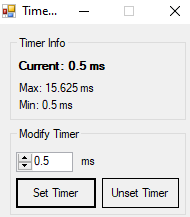
- Upon opening, you’ll see the current Resolution settings.
- To enhance your gaming performance, you can modify these settings. Click on the “Maximum” button for the highest possible timer resolution.
- Alternatively, you can enter a custom time in milliseconds if you have a specific setting in mind.
- After making your adjustments, click on the “Set Timer” button to apply the new, lower-timer resolution.
- If you want to revert to the standard Windows timer settings, simply click on the “Default” button.

Remember, these changes can significantly impact your gaming performance, especially in reducing lag and improving FPS.
Note: Use this app when you are performing high-performance tasks. If you are running normal tasks, then set it to the default settings.
Boost Your Gaming Performance…
In summary, Timer Resolution is a valuable tool for gamers looking to improve their gaming performance on Windows PCs, especially those running older versions. It’s simple, free for its initial versions, and can make a noticeable difference in gameplay quality.
FAQs
DMCA: We at TimerResolutions.com adhere to the Digital Millennium Copyright Act (DMCA) regulations. If you find your copyrighted content on our website and wish for it to be removed, please contact us.
Disclaimer: TimerResolutions.com is a fan-created website and is not affiliated with or endorsed by Lucas Hale. The content provided here is intended for educational purposes. If you have any copyright concerns, please direct them to us for prompt resolution.
